DIY: Painted Rhinestone Necklace

model1-3.jpg

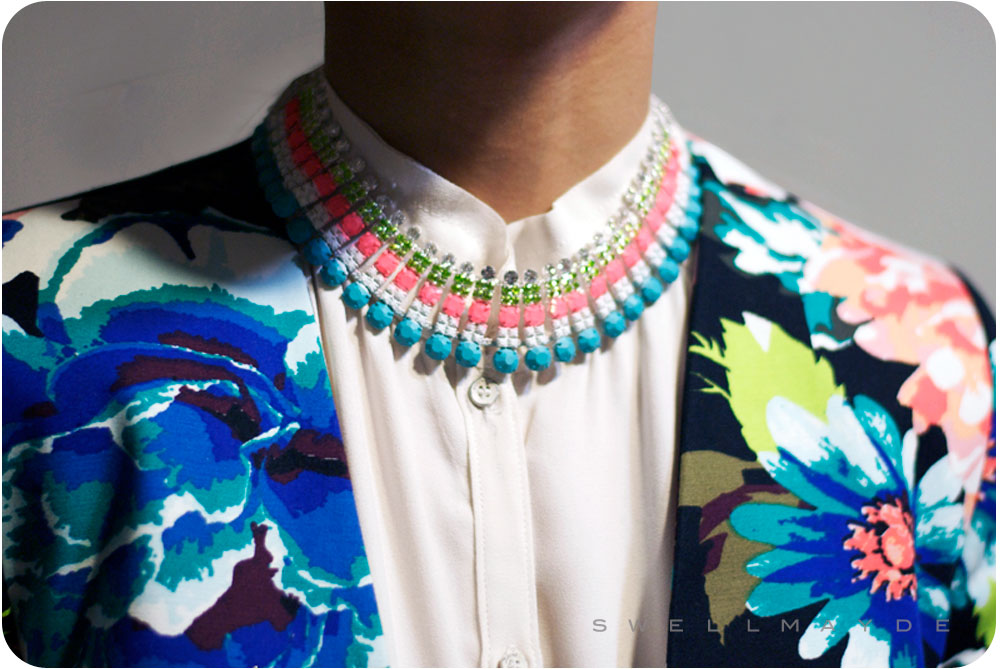
I love the idea of adding some color into my wardrobe for Spring. The easiest way to do so is with accessories. When I saw these necklaces from Tom Binns, I immediately knew what my next DIY would be. The DIY steps are simple and allow you to update a rhinestone necklace that may have been sitting in your drawer since prom.

materials-3.jpg
step1-9.jpg
step2-9.jpg
step3-9.jpg
model2-1.jpg

Materials:

Spray Paint

Scrap Paper

Permanent Markers

Rhinestone Necklace (Similar 

Here

 and 

Here)

Scissors

Masking Tape

Steps:

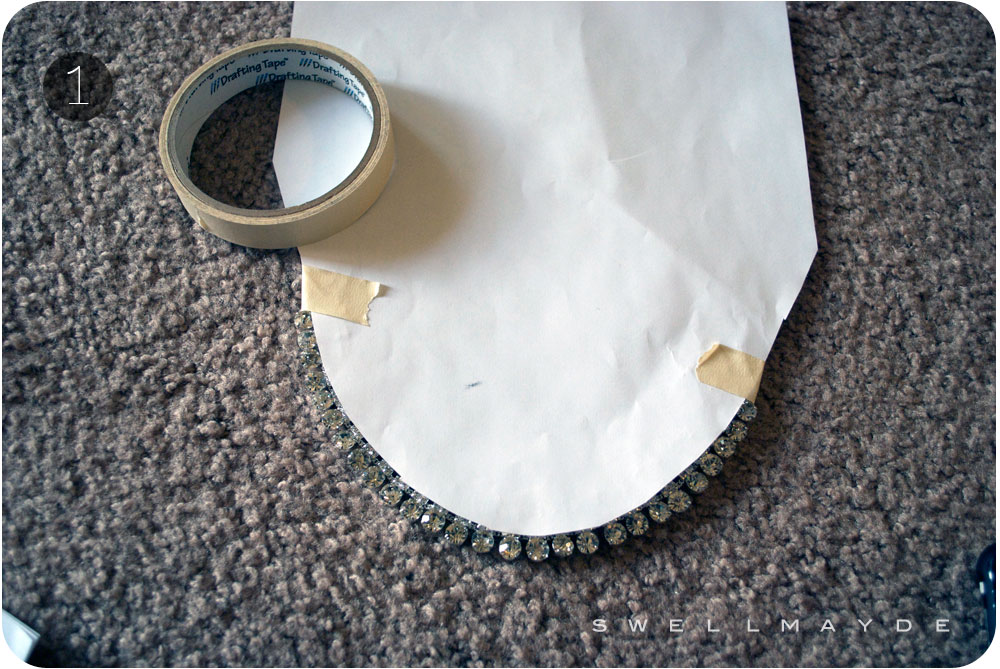
1. Cut scrap paper to cover areas of necklace that you do not want to spraypaint. Tape paper in place.

2. Spray paint necklace to desired color. This will give a more opaque look. Repeat steps 1 and 2 for different sections of the necklace to create a fun color combination.

3. Marker in certain sections with the permanent markers to achieve a colored, yet translucent look.

4. Easy breezy!! Enjoy your SwellMayde DIY Painted Rhinestone Necklace.

Made By Hand - Cut Brooklyn

Cut-Brooklyn.jpg

In this 10 minute atmospheric short film Joel Bukiewicz of Cut Brooklyn delves into his personal philosophy on what 'handmade' means, how he arrived at knife making, what it takes for a 'skill' to become an 'art'. Quite a touching film that had me wishing I was working in my garage studio and not at my computer... Created by the folks at Made by Hand a new short film series "celebrating the people who make things by hand — sustainably, locally, and with a love for their craft."

Visit Cut Brooklyn for a selection of available knives from Joel.

A 3rd Generation Artisan

Screen-Shot-2013-01-10-at-10.40.10-AM.png

First and foremost, Perry Ercolino is a maker. His grandfather was a leatherworker from Italy, and  Ercolino learned his craft in his father's workshop, making him a third generation artisan. Having mastered the trade, he took over the family business in 1980s and continues to run it to this day.

Watch this amazing video shot by Zach Lowry, which was featured on one of our favorite websites - Those Who Make

Modern 'Up-Cycled' Wreaths

This eco DIY project will wow visitors and family as you show them how to turn old clothing items and yarn into fab holiday wreaths! If you've ever lost a great sock to the Washing Machine Sock Monster and can't seem to part with the remaining sock, this is the perfect project for you. It's festive and fun - it's a great activity to do with the whole family or with some friends while enjoying a bottle of wine. ;) Have fun!

SKILL LEVEL Beginner

APPROX TIME 30 minutes

MATERIALS NEEDED - a wreath form (I used a foam form from a craft store but if you wanted to be really eco, you could twist old clothing and wrap wire around it to form a ring) - pins - scissors - yarn - cardboard to make a stencil (I used an old cereal box) - fabric for the 'leaves' (I used an old scarf and pieces of felt I had in my craft closet though any textile could be used for the appliques from wool socks to old leather belts)

INSTRUCTIONS 1. Draw the shape of a leaf or holly onto cardboard. Cut the shape out of the cardboard and then use it to trace onto your fabric. Cut the fabric pieces out to create your 'leaves'. 2. Wrap yarn around the wreath to cover it completely. 3. Attach the fabric leaves to the form using pins. 4. Cut a long piece of fabric to be your 'hook'. Fold it in half and pin it to the wreath form twice, creating the hook. 5. If making multiple wreaths, cut different shapes out from your fabric, so there is variety. 6. Repeat Step 3.

Voila!