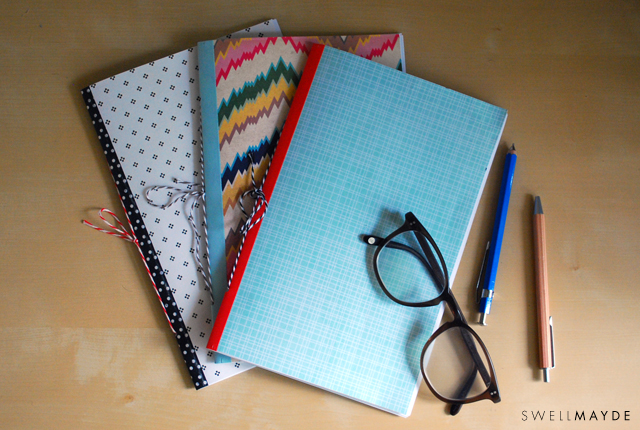
 I have been pretty obsessed with stationery and notebooks lately, which led me to create this DIY for Unique SF and the Summer Show in Santa Monica. I wanted to share the easy to follow steps for everyone, especially if you couldn't make it out to one of the events. Have fun playing with color and patterns!
Materials:
- 8 1/2" x 11" Patterned Paper (here)
- Colored/Patterned Tape (here and here)
- Baker's Twine (here)
- Hole Puncher 1/8" or 3/16" (here)
- Glue Stick (or Spray Adhesive)
- Scissors
- 8 1/2" x 11 Copy Paper and Cardstock
- Rubber Stamp (optional) (similar here)
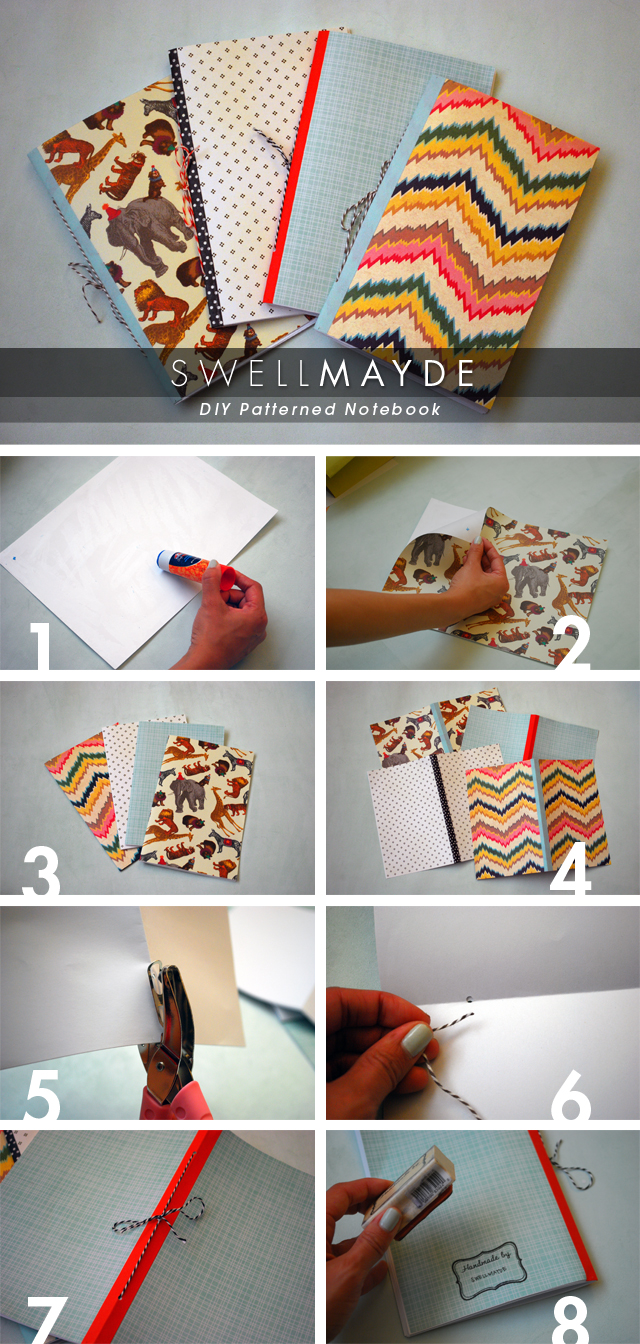
Steps:
1. Apply gluestick all over the cardstock. You can also use spray adhesive (be sure to wear a dust mask over your mouth and nose and be a in well ventilated area).
2. Place your patterned paper on the glued cardstock (pattern side up).
3. I used about 8 pieces of copy paper per notebook. Fold the copy paper and the patterned cardstock in half. For a clean, sharp crease, fold a couple pieces of paper at a time.
4. Add tape to the center of the folded patterned cardstock, as a fun detail. Cut off excess.
5. Hole punch the folded copy paper and patterned cardstock on the crease, at the top and bottom edge. Be sure to punch the holes at the same distance each time. The holes must align.
6. Cut a piece of baker's twine to about 16". From the inside of the notebook, string one end of the twine through bottom holes. Then, string the other end of the twine through the top holes.
7. Tie a knot and bow on the outside of the notebook.
8. (Optional) Apply a stamp for a finishing touch! And you're done! :)