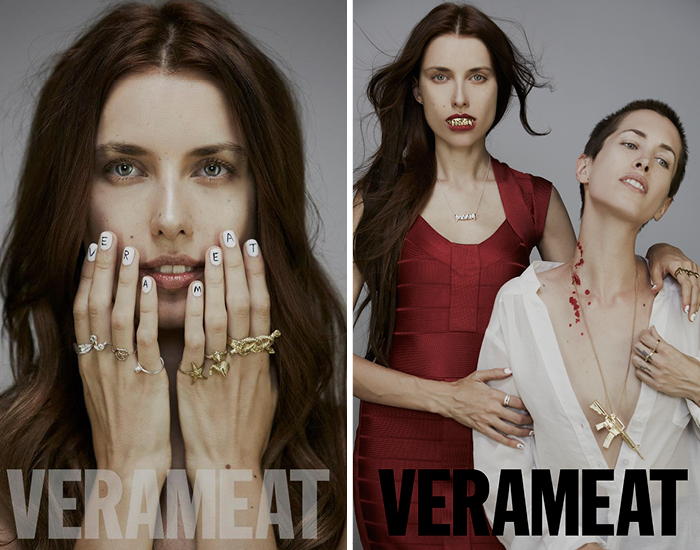
 Name: Vera Meat
Age: 25
Neighborhood of residence: East Village NYC
Favorite thing about NY: The smell of tea, pee, ice cream, cigarettes, sex & expensive cologne all mixed together & that’s before you open the front door of your building to take on the day.
Name: Vera Meat
Age: 25
Neighborhood of residence: East Village NYC
Favorite thing about NY: The smell of tea, pee, ice cream, cigarettes, sex & expensive cologne all mixed together & that’s before you open the front door of your building to take on the day.
What made you switch gears from modeling into jewelry design?
I think any child of immigrants who studies so much she forgets to color her hair or cut it, who has so many allergies her body won’t store fat, who cares so little about others opinions of her she’ll throw an attitude at anyone - that kid can model. But not just anyone can make a Dino Eating Fried Chicken ring. Also the modeling industry has no child labor laws. So at 14 years old I was working 12 hour days & 70 hour weeks. That’s not good for even the most naturally flawless complexion. Also I’ve always wanted to have my own business as my parents always had their own business.
Did you have any formal training in design?
No, I’m lucky to say I was just inspired by my Mom weaving really strange sweaters on an old machine she got as a gift & my Dad making pins. Friends’ art work always inspired me. People’s street styles while I was traveling as a kid inspired me, especially in street caves of hilly Finland, women in the markets of Rome, Austria’s country side & the swimsuits of the Black Sea. Also, animals, natural cloths & accessories. Like bird plumage, cat and dog nails, animal mutations like Cyclops kitty & writers/artists of our time.
What else inspires you?
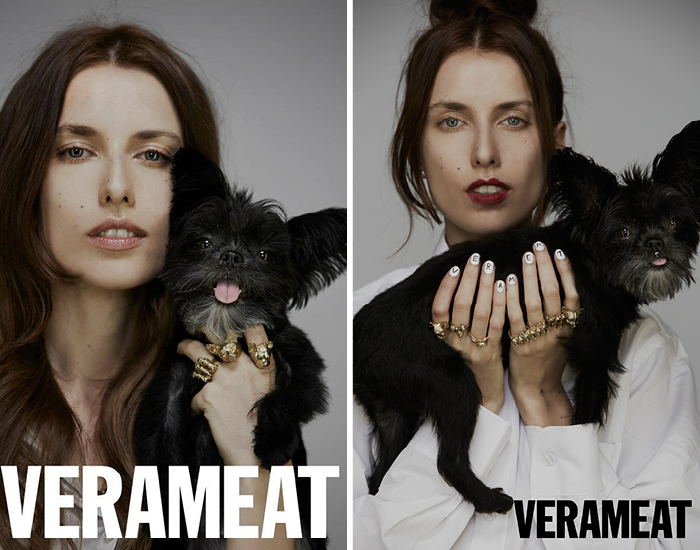
My mascot & puppy dog Fred. My friends, who have so much energy, and my strange family who has roots all over the world in so many different cultures.
For up-and-coming students and designers reading this, how were you able to open your first store? And then grow into multiple locations?
Well I’ve always been lucky and just happened upon the great location of 315 E 9th St in the East Village. I lived nearby so I wanted to work near my home. Then my old landlord had a store open up in Williamsburg. Since we were friendly, he offered the space to me; N. 5th near Bedford is really a dream location in Brooklyn so I jumped in.
You come from a family with nontraditional careers, and have lived all over the world. How does your eclectic upbringing play into your art?
Well it’s hard to say what came first - the chicken or the egg!
Where is your studio?
On 14th Street near 1st Ave. in the East Village
What does your typical day look like?
Feed Puppy Fred, start work on a new design, meet with Operations Manager Megan, get breakfast in the hood, visit one of my stores to see if my girls need anything, do a photoshoot or interview. It really depends on the day; go to an art gallery, museum party, you know - NY living.
Tell us how you take an idea and turn it into a product.
Does a zebra reveal it’s spots? No - it just limps away.
You just opened a new store in Brooklyn. What are the plans for Verameat’s future?
We’d love to open another store, debut our new driving gloves & wallets. We are making other accessories, not just jewelry. Check out Facebook page for details & updates!
As a small business owner and designer, what are your top resources that help in your day-to-day?
Greenerprinter is great for recycled cards. I love Instagram. Check ours here http://statigr.am/tag/verameat
What advice would you give to entrepreneurs that you wish someone had told you?
Always have fun, anywhere, everywhere - no matter what.

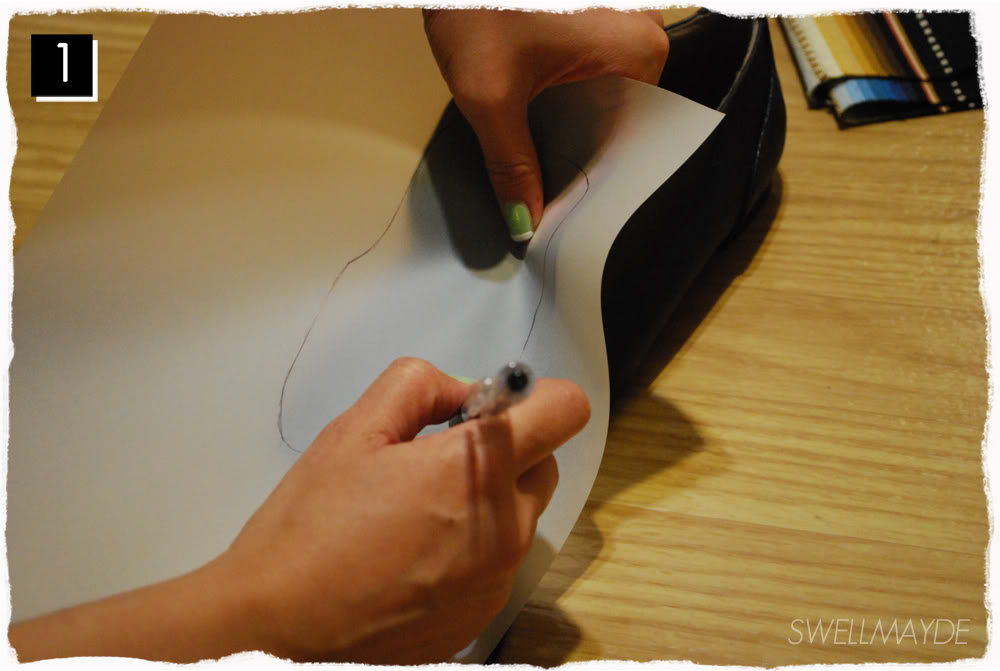
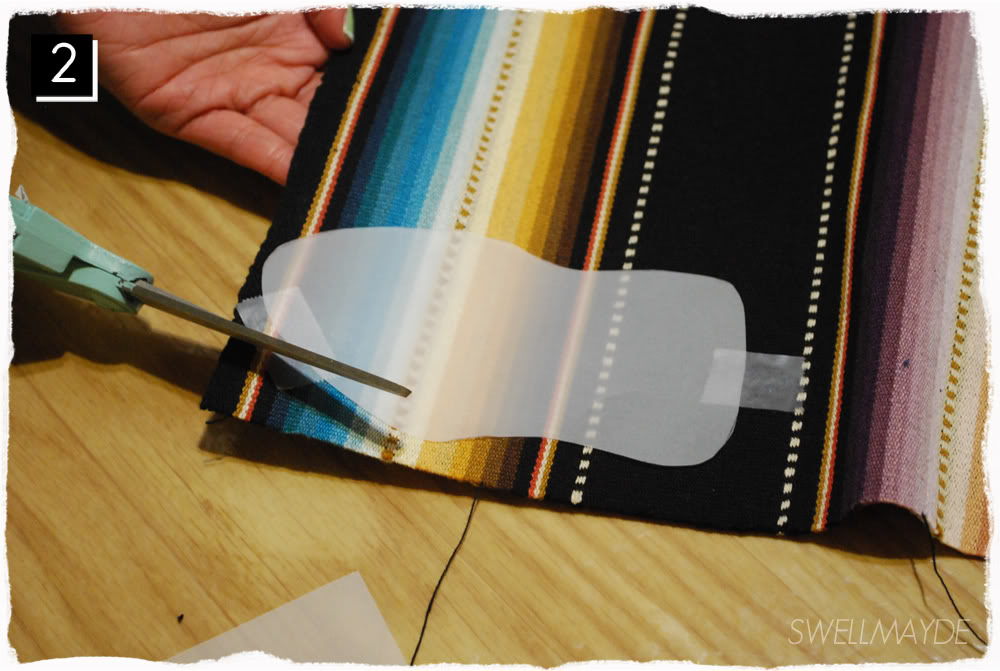
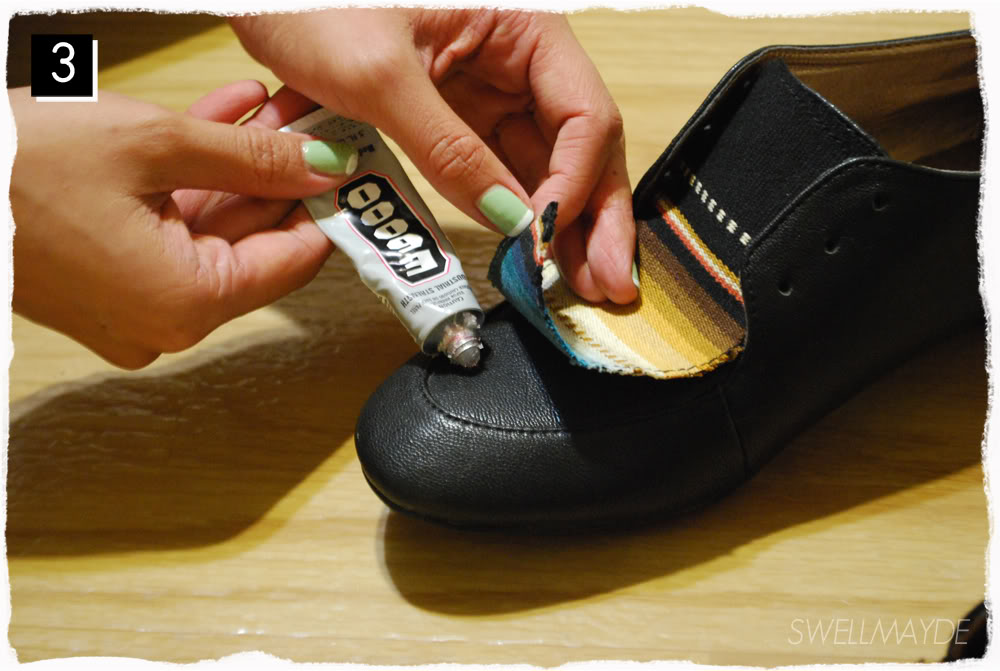
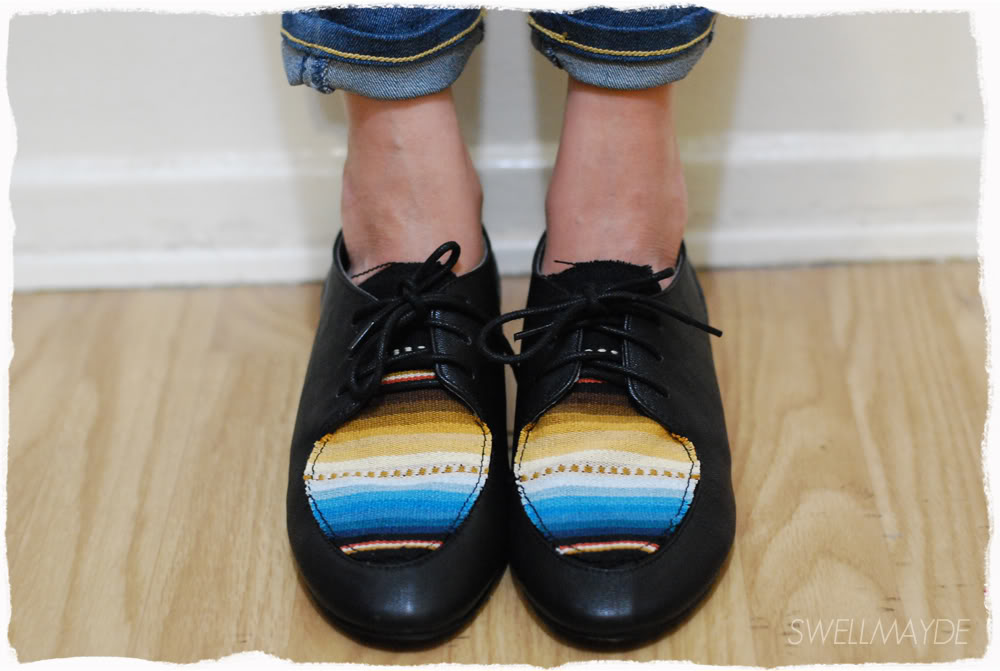
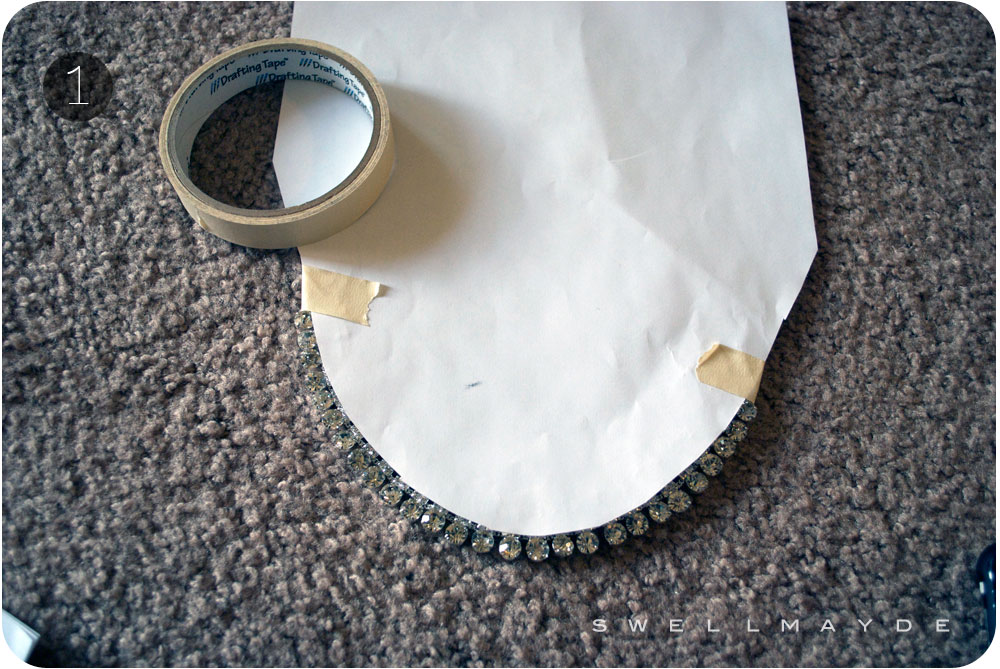
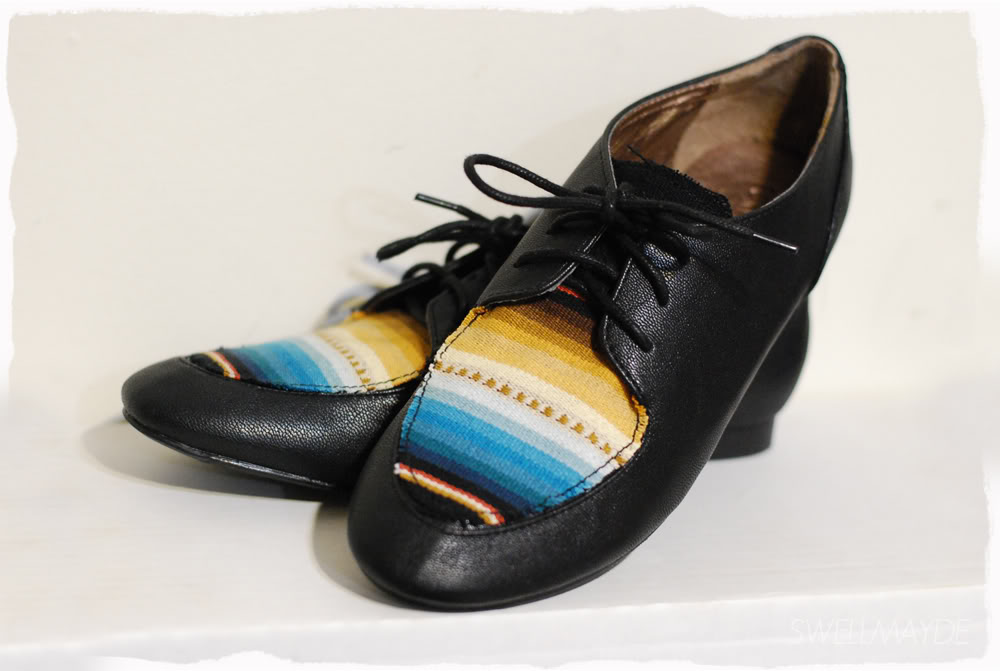 If you you've taken a peek at my blog… you probably noticed how much I love myself some ethnic prints. I especially love it in small pops in a wardrobe and thought it would look great on the upper portion of this shoe. The steps are pretty simple and can be used on a variety of different shoe styles, maybe something that's already in your closet. Here's how...
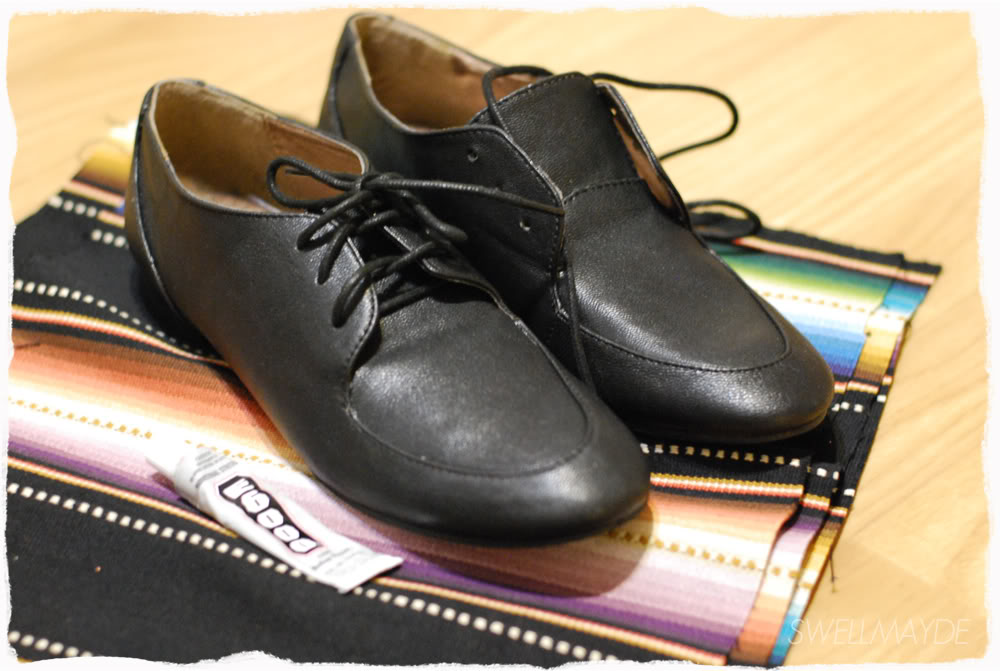


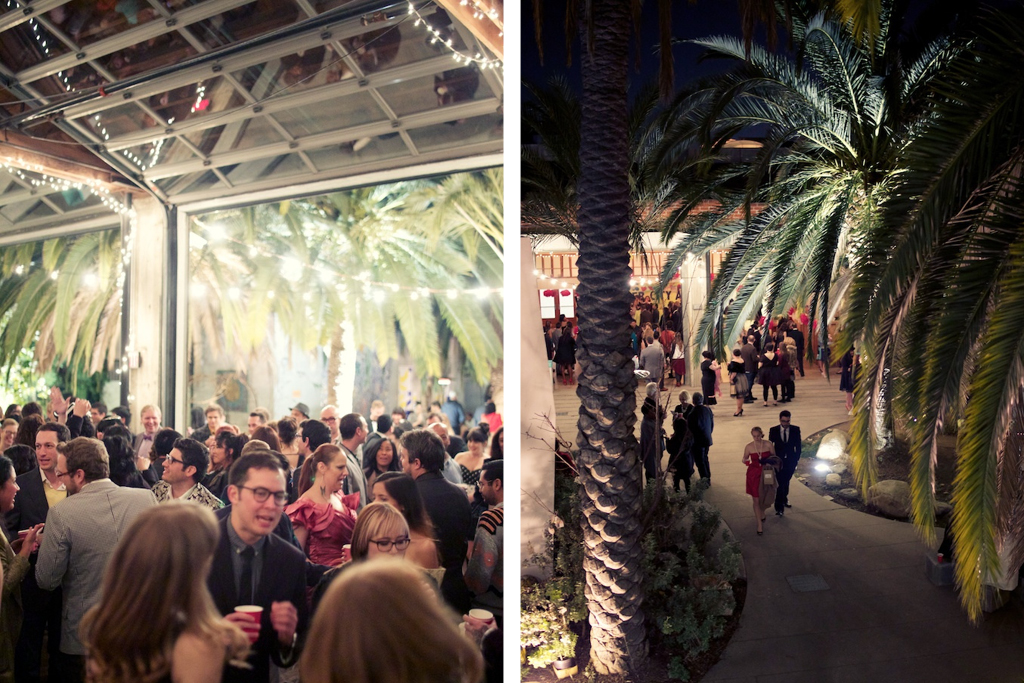
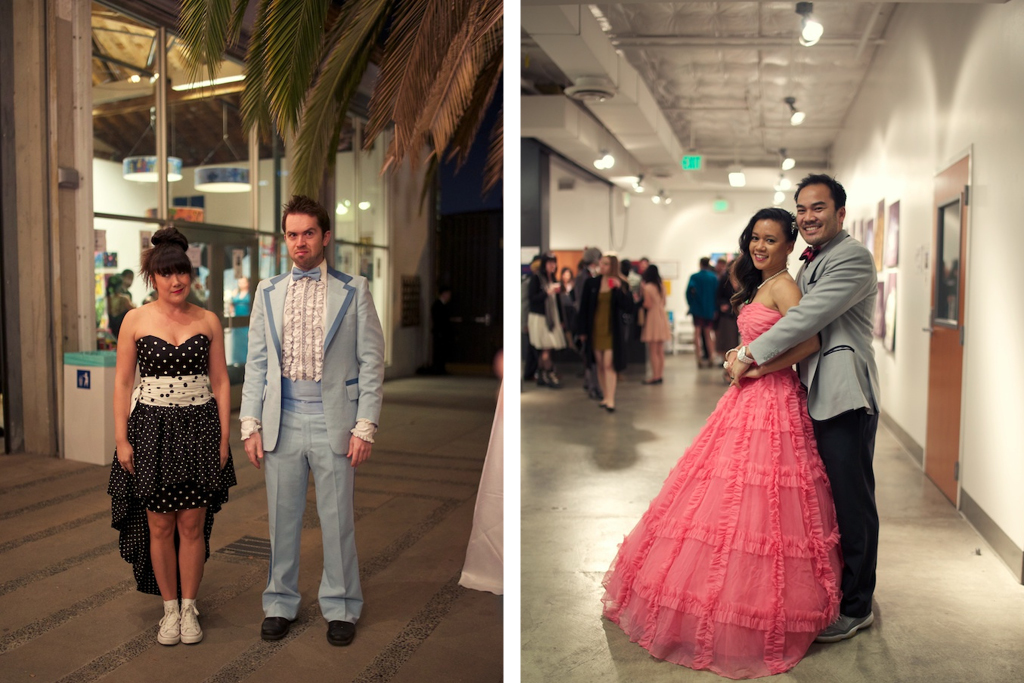
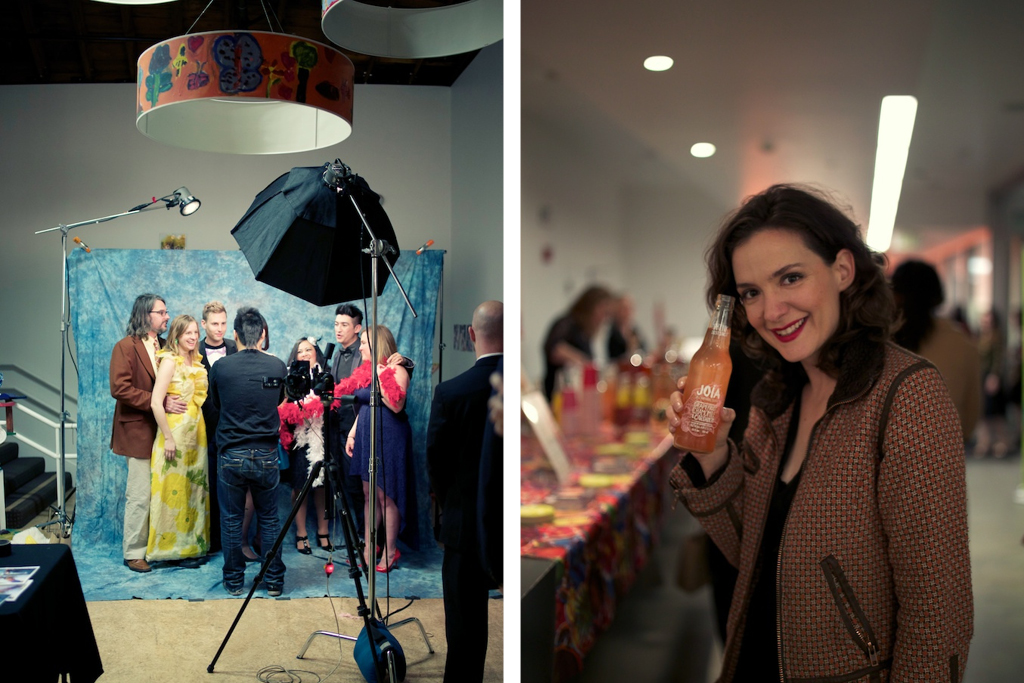
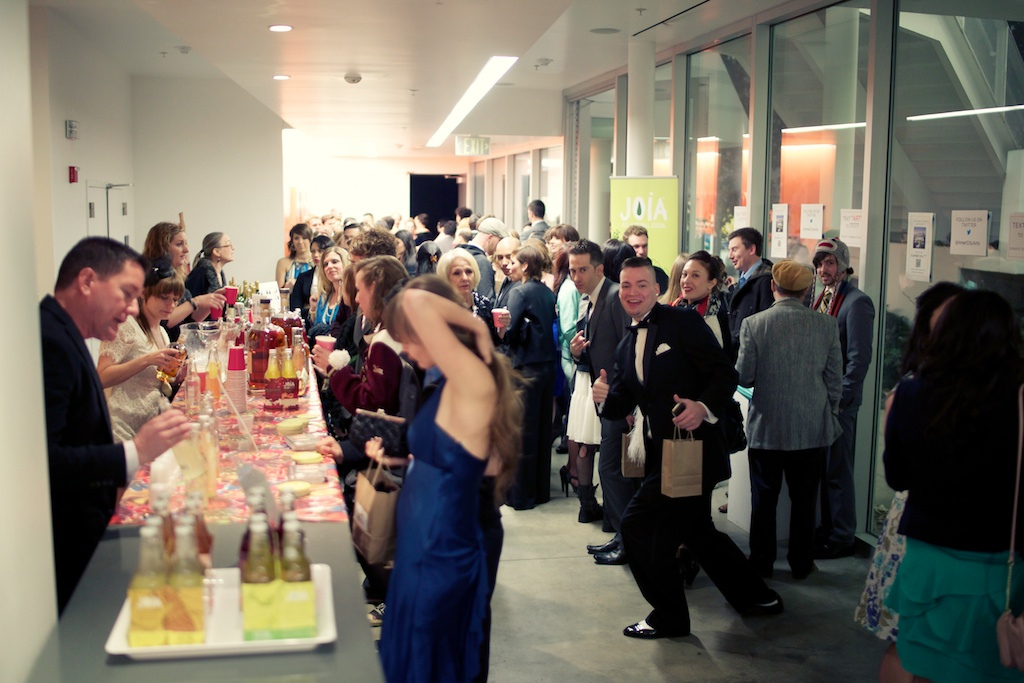
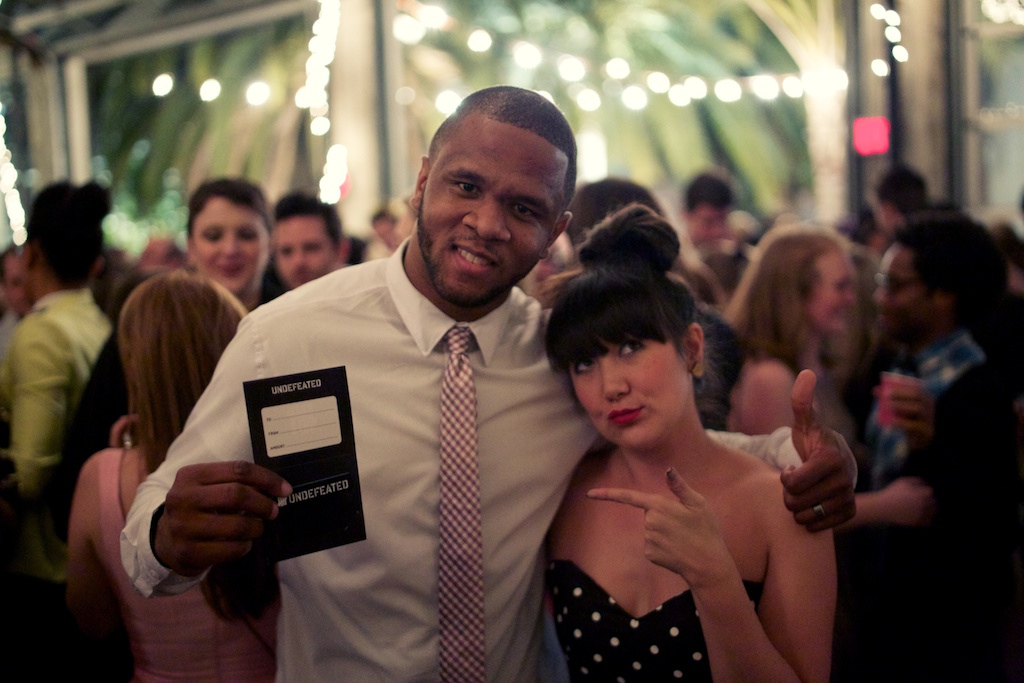
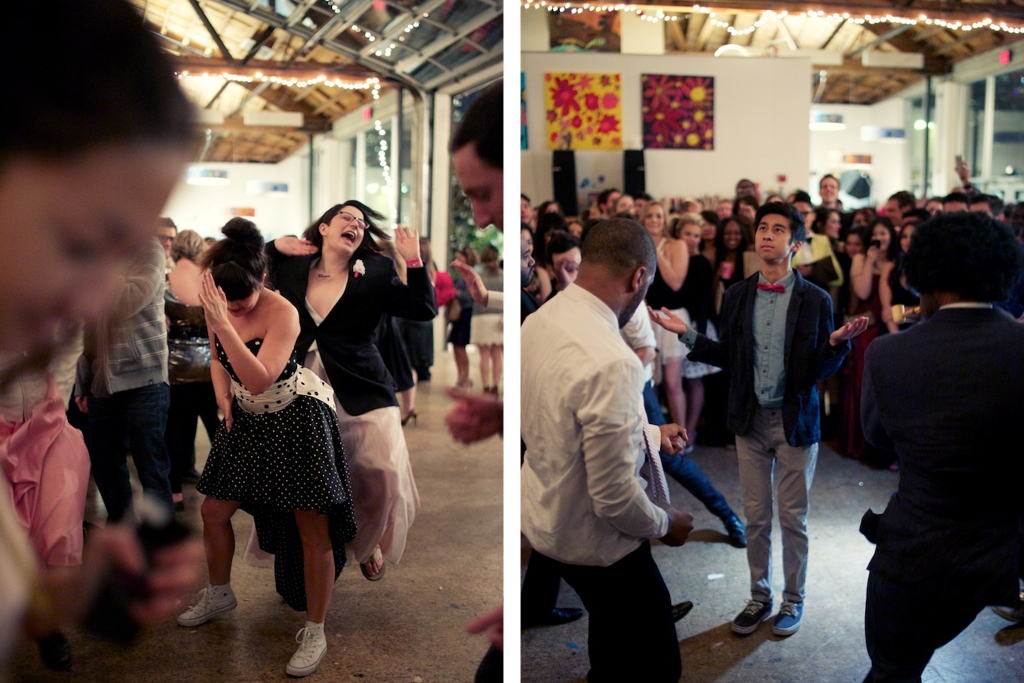
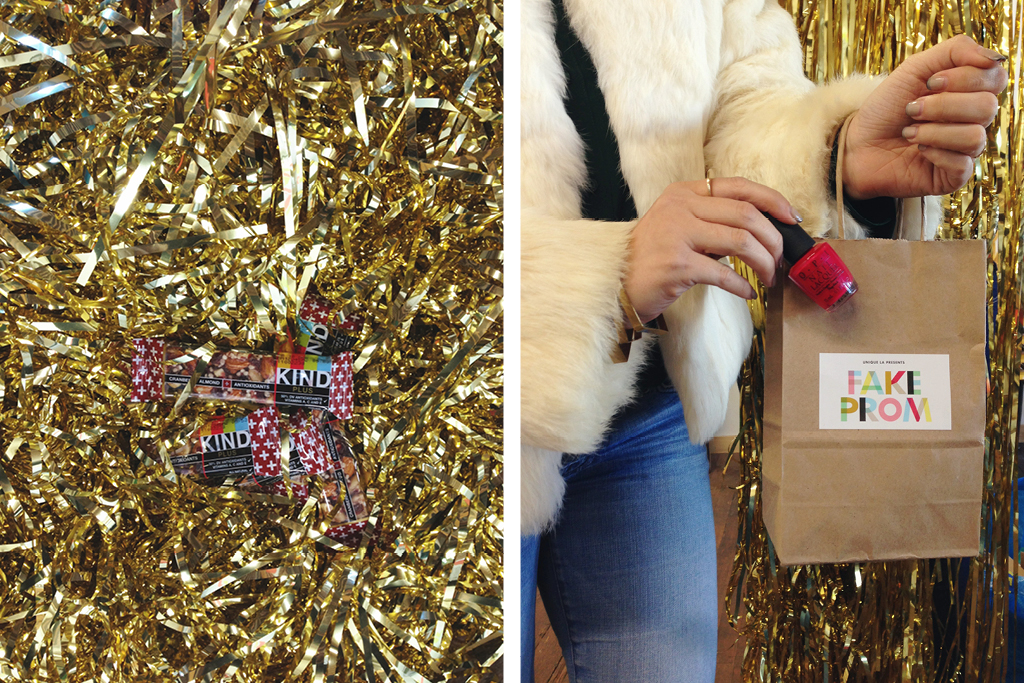
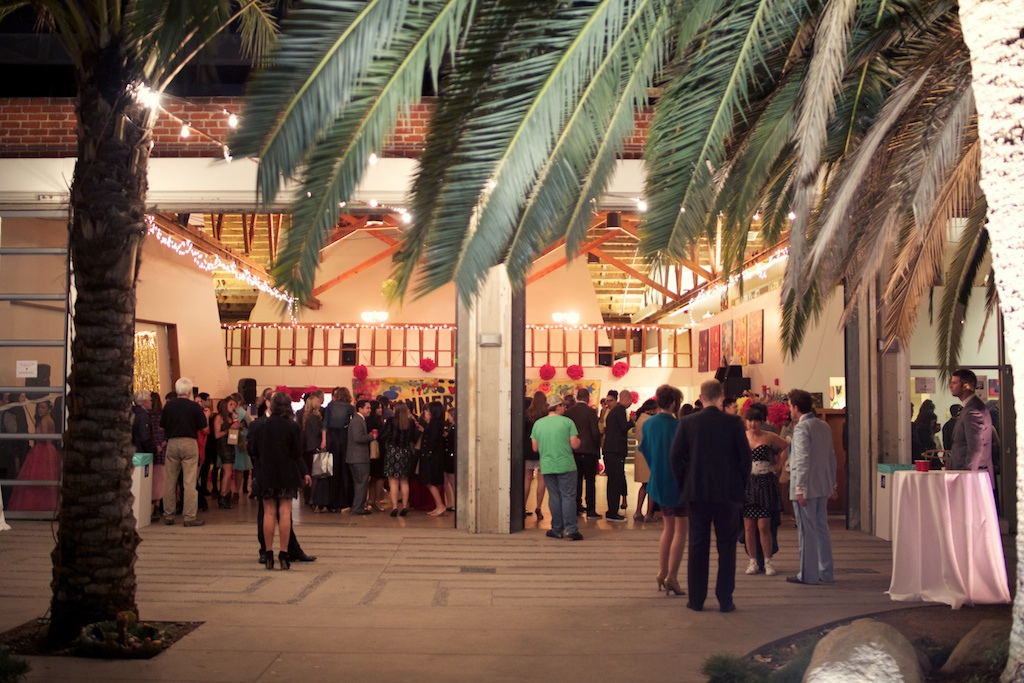
 This past weekend we held Fake Prom, a fundraiser for
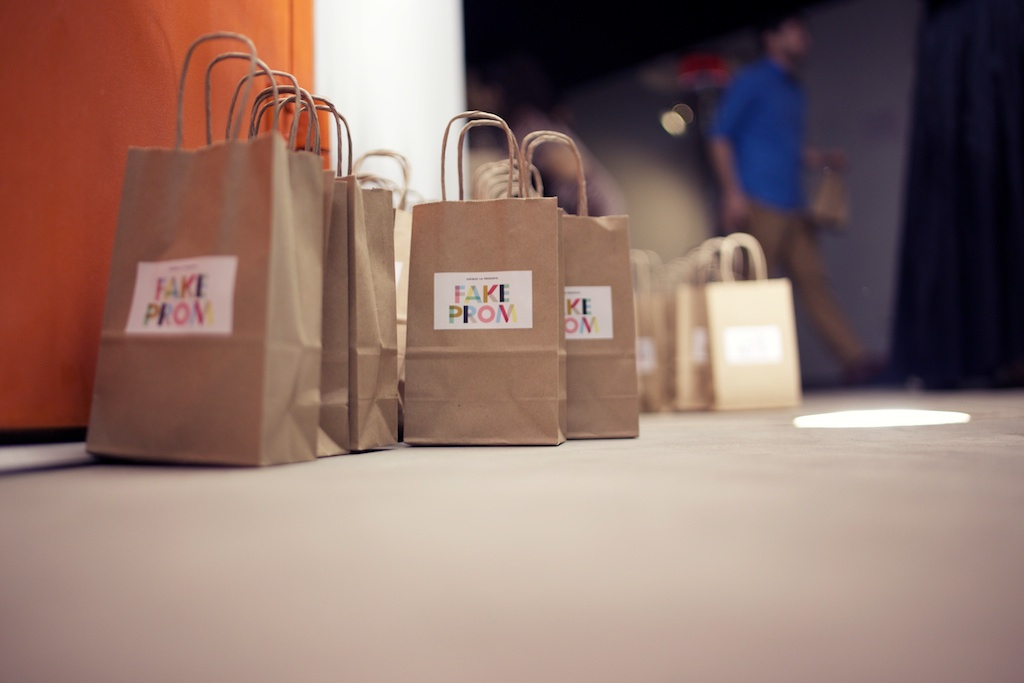


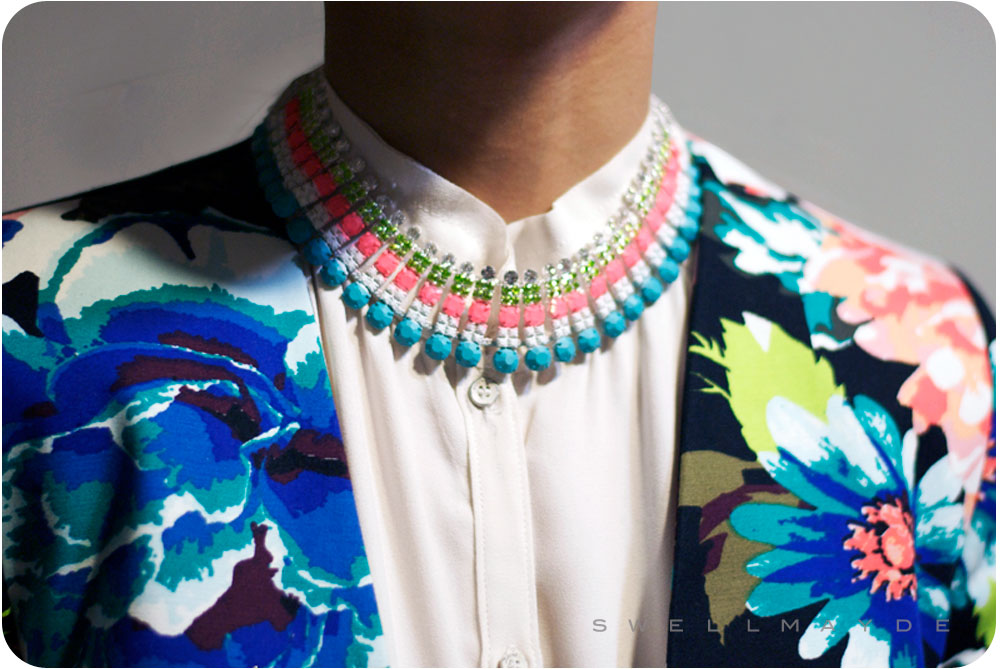
 The minimalist in you needs to know about


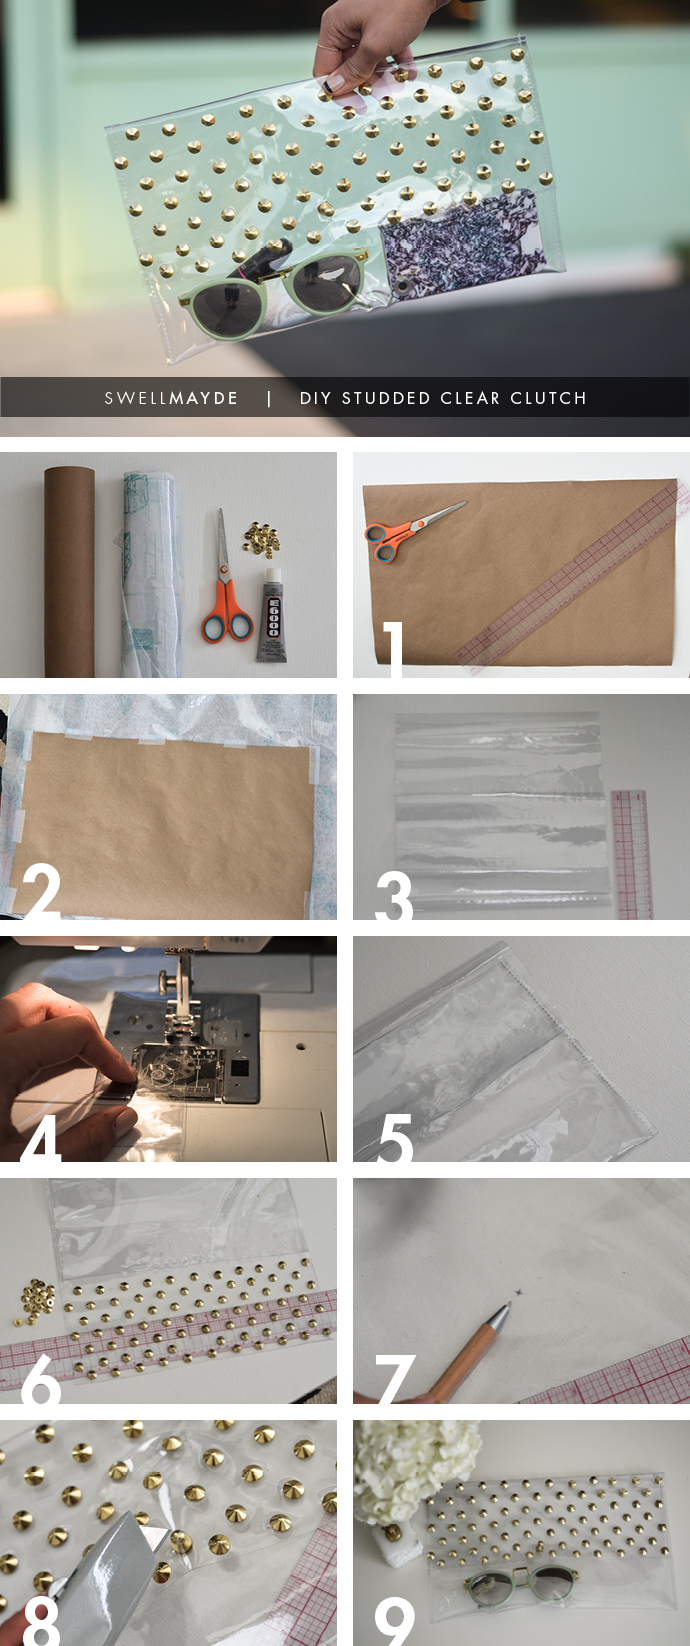
 There is something so beautiful about the minimal look of a clear clutch. I love that it also forces me to declutter my purse and only carry my essentials... absolutely the theme of 2013 for me. When I saw this beautiful style from
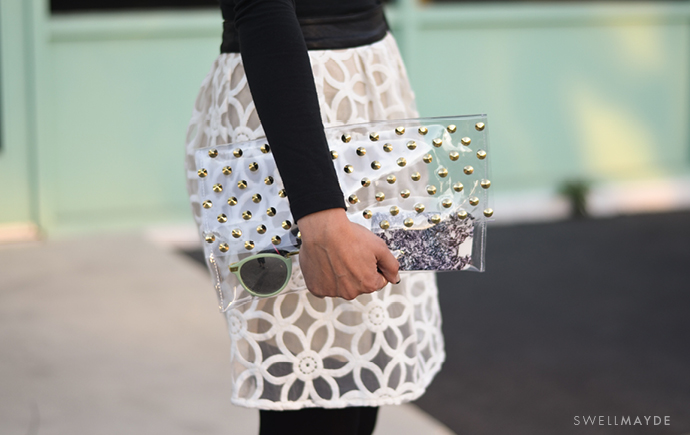

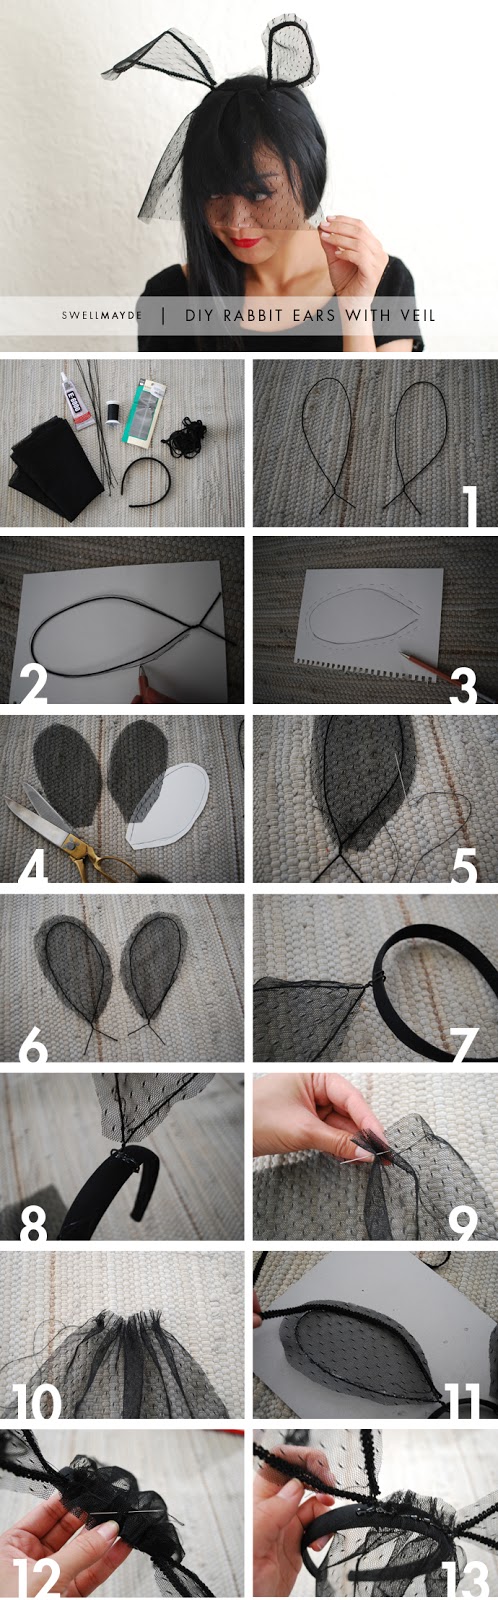
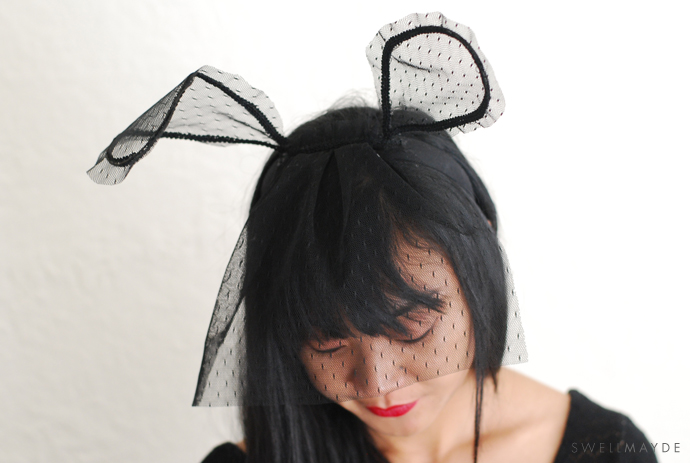
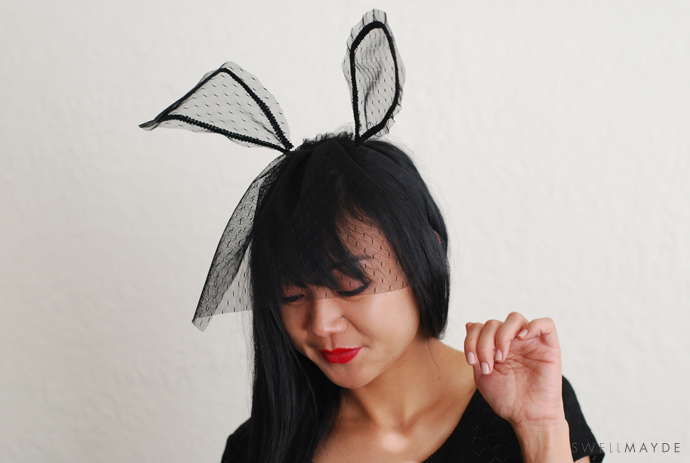 Having just moved into a house after years of living in an apartment, I'm looking forward to passing out candy to the kiddies in our neighborhood this Halloween. I'll be wearing this little DIY all night. Please check out the full tutorial after the break, along with suggestions on what to wear to complete the look.
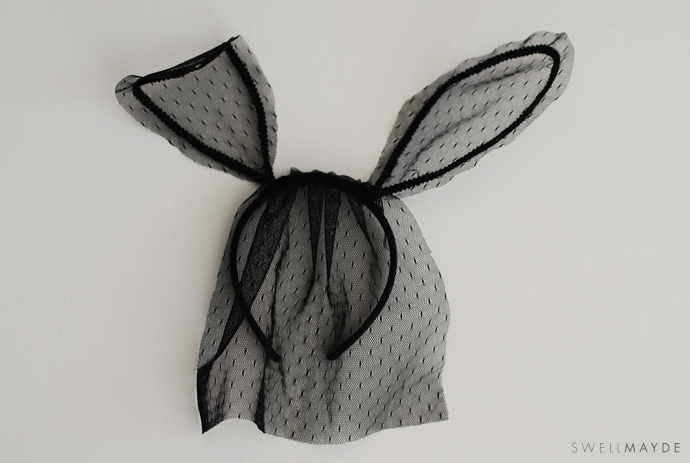
 In August

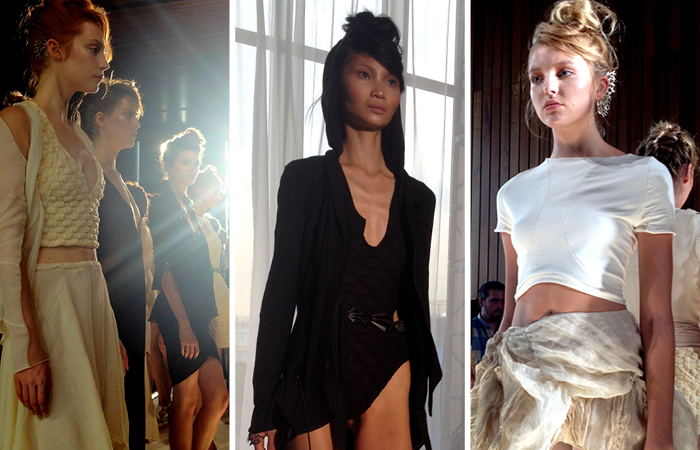
 26-year old budding designer Katie Gallagher debuted her 7th collection, “Everything Forever”, at the Standard Hotel during New York Fashion Week. A RISD alum, Gallagher has proven herself as a rising star in NY after snagging the attention and advocacy of NY Times T-Magazine and fashion influentials like Daphne Guinness and Nicola Formichetti
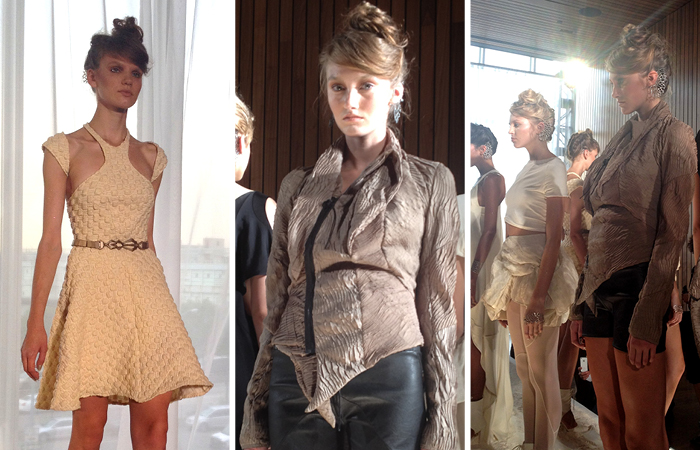
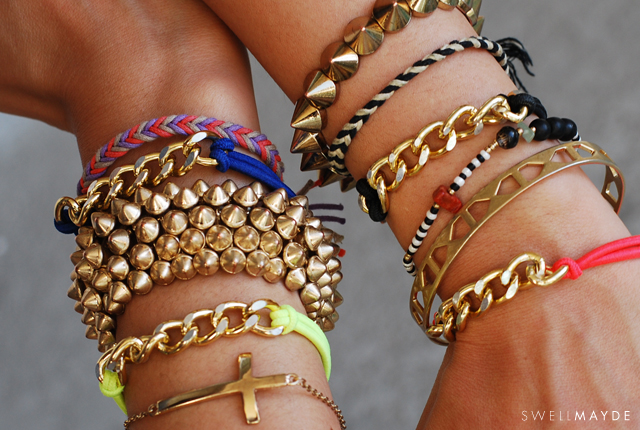
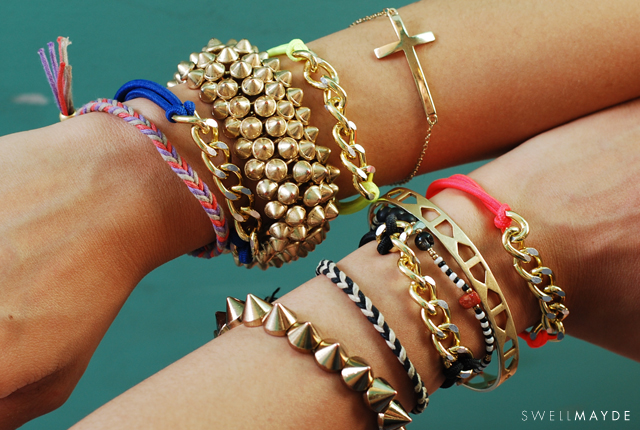 I have been really inspired by chain bracelets lately. Here is the first of 2 chain bracelet DIY's. When I saw this beautiful Marc Jacobs bracelet (
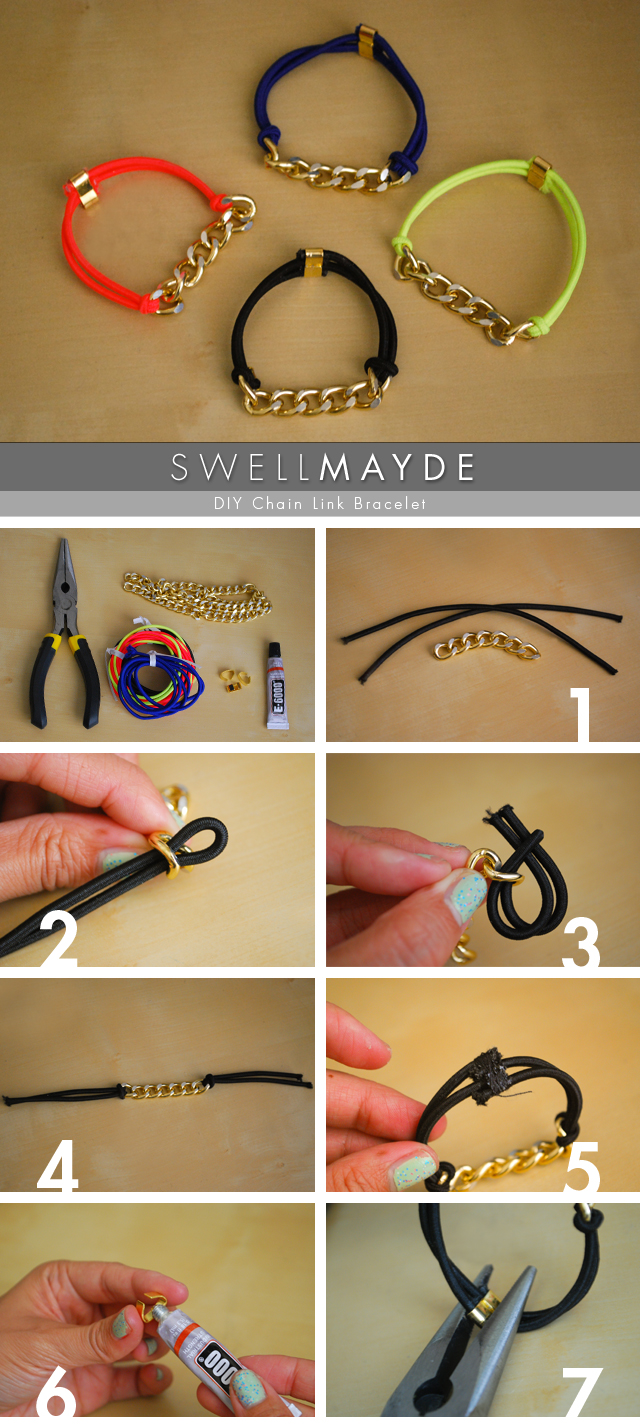

 We love to scour the internet in search of the latest trends, news, companies, and individuals that are shaking up the Made-in-America movement; and what place is better to search for "what's next" than Kickstarter? This week we were fortunate to stumble upon the
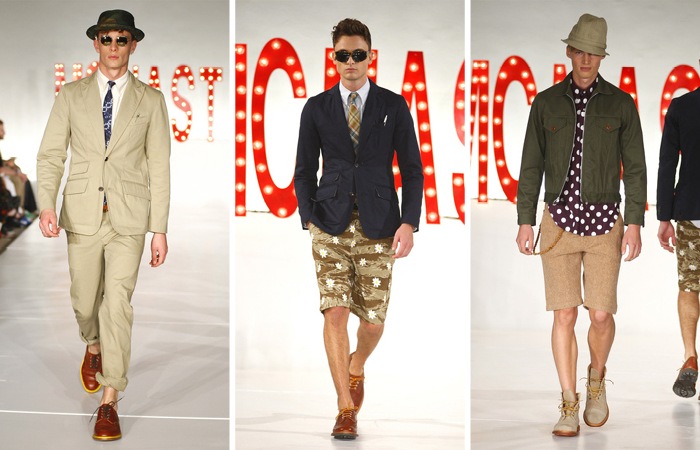
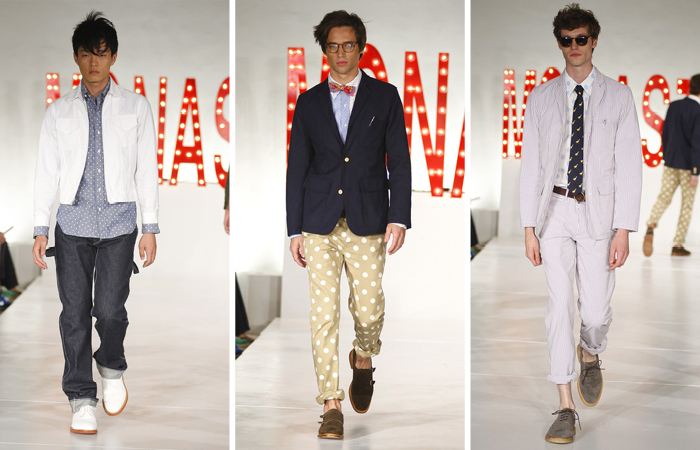
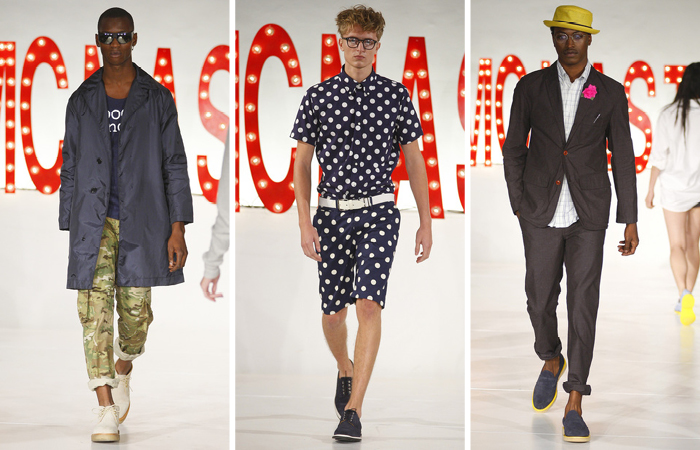
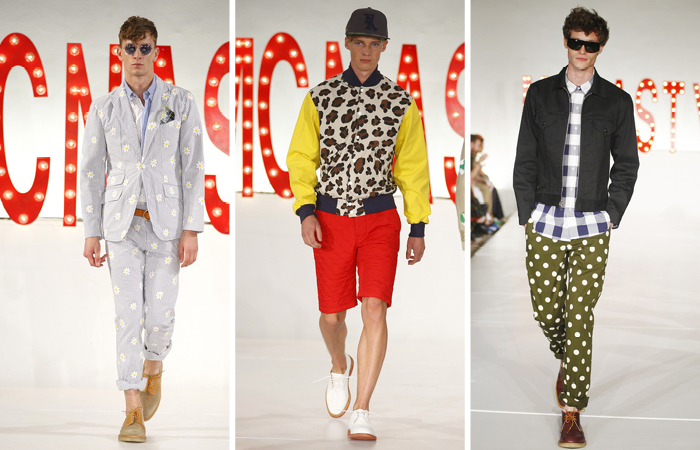
 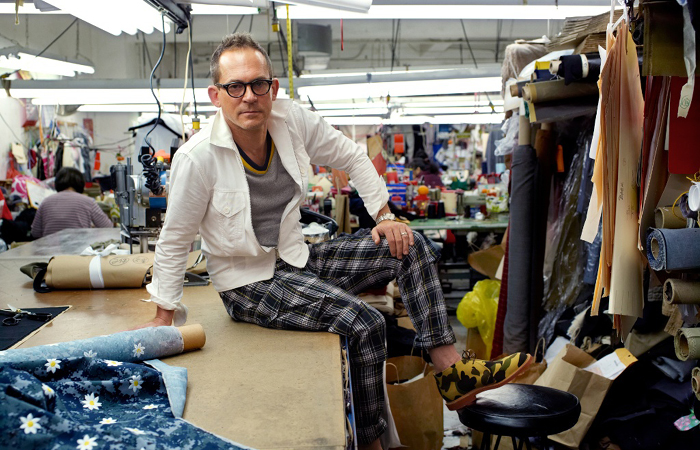 One of my favorite menswear designers